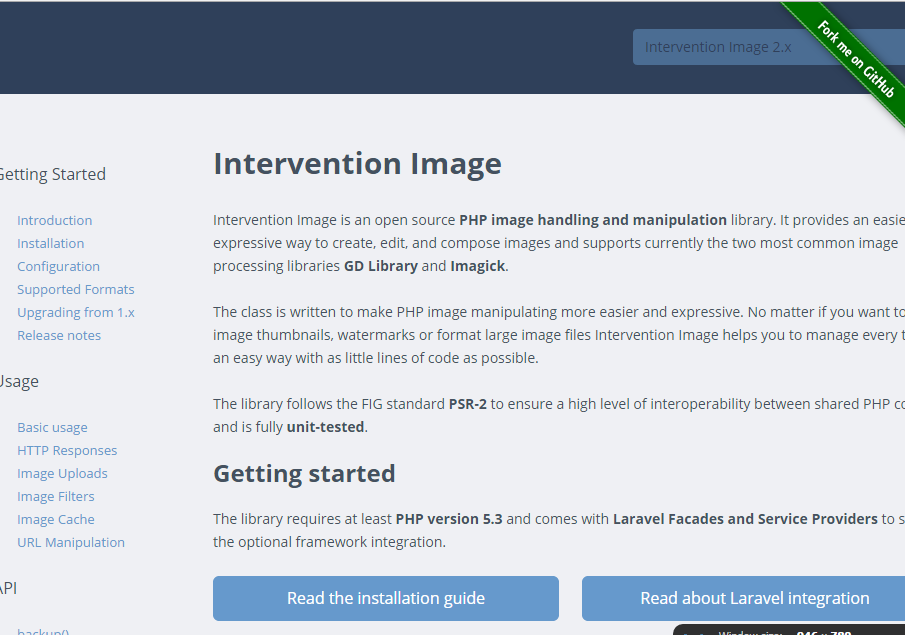
PHPで画像処理をおこなう場合にGDライブラリもしくはImagickで実装するのが一般的ですが、これらのライブラリをラップしたIntervention Imageという便利なライブラリが公開されているので使ってみます。
http://image.intervention.io/getting_started/introduction
Quick Start
導入はcomposer経由です。
"require": {
	"laravel/framework": "4.2.*",
	"intervention/image": "dev-master"
},
失敗した。
PHP fileinfo 拡張モジュールが必須とのことです。
Loading composer repositories with package information
Updating dependencies (including require-dev)
Your requirements could not be resolved to an installable set of packages.

  Problem 1
    - Installation request for intervention/image dev-master
      -> satisfiable by intervention/image[dev-master].
    - intervention/image dev-master requires ext-fileinfo *
      -> the requested PHP extension fileinfo is missing from your
 system.
php.iniでPHP fileinfo 拡張モジュールを有効化します。
;extension=php_fileinfo.dll
成功しました。
Loading composer repositories with package information
Updating dependencies (including require-dev)
  - Installing intervention/image (dev-master 48777cd)
    Downloading: 100%

intervention/image suggests installing intervention/imagecache
(Caching extension for the Intervention Image library)
intervention/image suggests installing ext-imagick
(to use Imagick based image processing.)
Writing lock file
Generating autoload files
Generating optimized class loader
ライブラリの導入が終わったのでLaravelに統合します。
app.php
'providers' => array(
    // 略
    'Intervention\Image\ImageServiceProvider',
),

// 略

'aliases' => array(
    // 略
    'Image' => 'Intervention\Image\Facades\Image',
),
artisanコマンドで設定ファイルを配布します
php artisan config:publish intervention/image
コマンドを実行すると、以下の場所に設定ファイルが作成されます。
app/config/packages/intervention/image/config.php
コンフィグファイルではドライバを選択できます。
<?php

return array(

    /*
    |--------------------------------------------------------------------------
    | Image Driver
    |--------------------------------------------------------------------------
    |
    | Intervention Image supports "GD Library" and "Imagick" to process images
    | internally. You may choose one of them according to your PHP
    | configuration. By default PHP's "GD Library" implementation is used.
    |
    | Supported: "gd", "imagick"
    |
    */

    'driver' => 'gd'

);
あとはサンプルこんな感じで使います。
メソッドチェーンが便利です。
Route::get('/createimage', function()
{
    $img = Image::make('foo.jpg')->resize(300, 200);
    return $img->response('jpg');
});
他にも、Laravelキャッシュとの統合や画像フィルタの利用など便利な機能があります。
では、また。