Laravel5.2がでました。大目玉の機能として、ついに認証にMulti-Authドライバーがサポートされました。
LTSも公式に発表されているため、ひと安心です。
For LTS releases, such as Laravel 5.1, bug fixes are provided for 2 years and security fixes are provided for 3 years. These releases provide the longest window of support and maintenance.
For general releases, bug fixes are provided for 6 months and security fixes are provided for 1 year.
Multi-Auth(複数の認証)
Multi-Authとは、利用者、管理者、オペレータなどの、ロールごとに認証機能を切り分けて管理する方法です。
ユーザロール毎に個別のテーブルが利用できるため、一般ユーザと管理者でテーブルの項目をわけるなど、容易に対応することができます。
いままではフレームワーク側でサポートされていなかったため、外部ライブラリを利用するか、ユーザーテーブルにフラグを追加する方法で対応していましたが、Laravel5.2からは標準でドライバが付属しています。
ライブラリはLaravel4ではollieread/multiauth, Laravel5.1まではKbwebs/MultiAuthあたりが硬いところでしょうか。
フラグを追加する場合、ユーザインポート/エクスポート時の対応やロールの判定など、いろいろとめんどくさい調整をする必要がありました。
QuickStart
Laravel5をインストールします。インストール手順はこちら。
ここでは一記事で完結するよう、最初からやってみます。
環境は、Windows+XAMPP5.6.15+Netbeansです。
MacでもLinuxでも一緒です。
composerでインストール。
> composer create-project --prefer-dist laravel/laravel multiauth

Installing laravel/laravel (v5.2.0)
  - Installing laravel/laravel (v5.2.0)
    Loading from cache

Created project in multiauth
> php -r "copy('.env.example', '.env');"
Loading composer repositories with package information
Installing dependencies (including require-dev)
  - Installing vlucas/phpdotenv (v2.1.0)
    Loading from cache

  - Installing symfony/polyfill-mbstring (v1.0.1)
    Downloading: 100%

(略)

> php artisan clear-compiled
> php artisan optimize
Generating optimized class loader
> php artisan key:generate
Application key [ABCDEFGHIJKLMNOPQRSTUVWXYZ] set successfully.
できました。なんと簡単なことでしょう。おサルさんでもできるかもしれません。
とりあえず、通常の認証機能を自動作成します。
>php artisan make:auth
Created View: \xampp\htdocs\multiauth\resources/views/auth/login.blade.php
Created View: \xampp\htdocs\multiauth\resources/views/auth/register.blade.php
Created View: \xampp\htdocs\multiauth\resources/views/auth/passwords/email.blade.php
Created View: \xampp\htdocs\multiauth\resources/views/auth/passwords/reset.blade.php
Created View: \xampp\htdocs\multiauth\resources/views/auth/emails/password.blade.php
Created View: \xampp\htdocs\multiauth\resources/views/layouts/app.blade.php
Created View: \xampp\htdocs\multiauth\resources/views/home.blade.php
Created View: \xampp\htdocs\multiauth\resources/views/welcome.blade.php
Installed HomeController.
Updated Routes File.
Authentication scaffolding generated successfully!
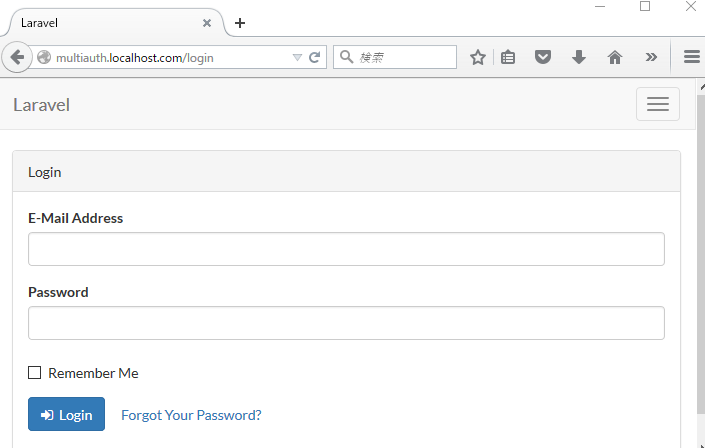
ななな、なんと、画面が完成してしまいました。登録・ログイン・パスワードリマインダーです!
ただし、データベースがないので動きません。マイグレーションを実行します。
>php artisan migrate

  [PDOException]
  SQLSTATE[HY000] [1045] Access denied for user 'homestead'@'localhost' (using password: YES)
と思ったら、データベースがなかった。
つくってコンフィグファイルを編集します。
コンフィグファイルはconfig/database.phpですが、/.envファイルで上書きできるのでローカル環境では.envを編集します。
DB_HOST=localhost
DB_DATABASE=multiauth
DB_USERNAME=root
DB_PASSWORD=secret
.envファイルは、PHP dotenvのファイルで、Laravel5から標準で取り込まれています。
もう一回実行してみます。
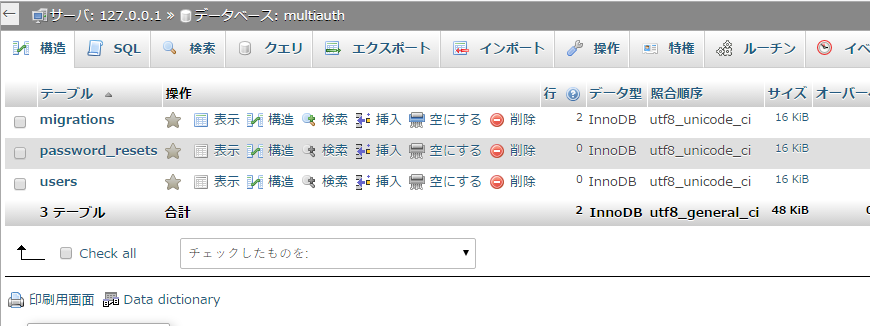
>php artisan migrate

Migration table created successfully.
Migrated: 2014_10_12_000000_create_users_table
Migrated: 2014_10_12_100000_create_password_resets_table
できました!
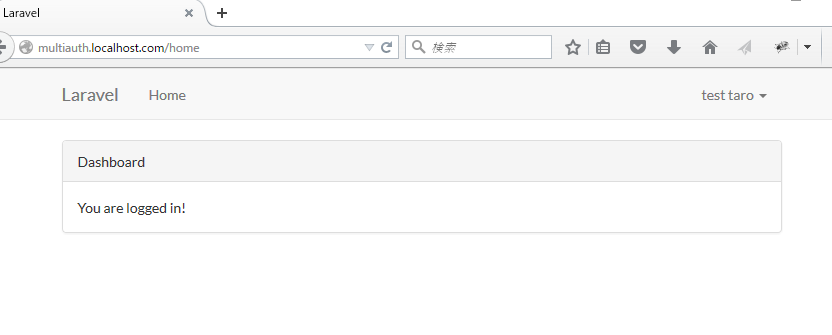
ユーザー登録・ログインをしてみます。
無事にうごきました。
さて、MultiAuth用に設定しようと思いますが、疲れてきました。
Adminテーブルを操作するためのモデルを作ります。app/Admin.phpが作成されます。
>php artisan make:model Admin
Model created successfully.
中身をapp/User.phpモデルと同じにします。
<?php
namespace App;
use Illuminate\Foundation\Auth\User as Authenticatable;

class Admin extends Authenticatable
{
    /**
     * The attributes that are mass assignable.
     *
     * @var array
     */
    protected $fillable = [
        'name', 'email', 'password',
    ];

    /**
     * The attributes excluded from the model's JSON form.
     *
     * @var array
     */
    protected $hidden = [
        'password', 'remember_token',
    ];
}
マイグレーション・seedも作ります
>php artisan make:migration create_admin_table
Created Migration: 2015_12_29_020639_create_admin_table

>php artisan make:seeder UserTableSeeder
Seeder created successfully.

>php artisan make:seeder AdminTableSeeder
Seeder created successfully.
ファイルを編集します。AdminテーブルのマイグレーションはUserテーブルと同一です。
2015_12_29_020639_create_admin_table.php
<?php

use Illuminate\Database\Schema\Blueprint;
use Illuminate\Database\Migrations\Migration;

class CreateAdminTable extends Migration
{
    public function up()
    {
        Schema::create('admins', function (Blueprint $table) {
            $table->increments('id');
            $table->string('name');
            $table->string('email')->unique();
            $table->string('password', 60);
            $table->rememberToken();
            $table->timestamps();
        });
    }

    public function down()
    {
        Schema::drop('admins');
    }
}
UserTableSeeder.php
<?php

use Illuminate\Database\Seeder;

class UserTableSeeder extends Seeder
{
    public function run()
    {
        DB::table('users')->truncate();

        for ($i = 1; $i < 100; $i++) {
            DB::table('users')->insert([
                'name' => 'テスト' . $i,
                'email' => 'test' . $i . '@example.com',
                'password' => bcrypt('password'),
            ]);
        }
    }
}
AdminTableSeeder.php
<?php

use Illuminate\Database\Seeder;

class AdminTableSeeder extends Seeder
{

    public function run()
    {
        DB::table('admins')->truncate();

        for ($i = 1; $i < 100; $i++) {
            DB::table('admins')->insert([
                'name' => 'テスト' . $i,
                'email' => 'admin' . $i . '@example.com',
                'password' => bcrypt('password'),
            ]);
        }
    }
}
DatabaseSeeder.php
<?php
use Illuminate\Database\Seeder;

class DatabaseSeeder extends Seeder
{
    public function run()
    {
        $this->call(UserTableSeeder::class);
        $this->call(AdminTableSeeder::class);
    }
}
準備出来ました。マイグレーション、seedを実行します。
> php artisan migrate:refresh --seed

Rolled back: 2014_10_12_100000_create_password_resets_table
Rolled back: 2014_10_12_000000_create_users_table
Migrated: 2014_10_12_000000_create_users_table
Migrated: 2014_10_12_100000_create_password_resets_table
Migrated: 2015_12_29_020639_create_admin_table
Seeded: UserTableSeeder
Seeded: AdminTableSeeder
できました!
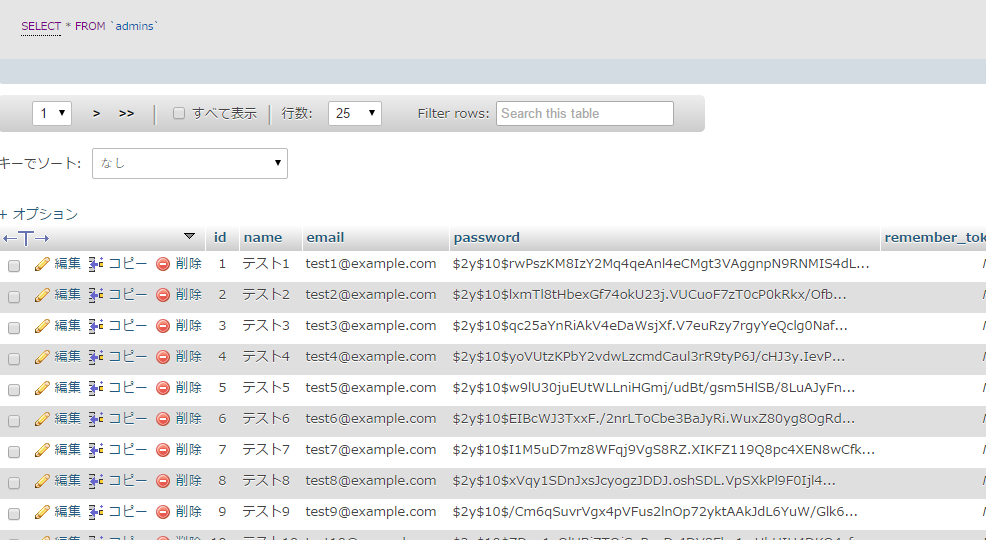
ではドライバーの設定をしましょう。
config/auth.phpを編集します。
編集前
<?php

return [
    'defaults' => [
        'guard' => 'web',
        'passwords' => 'users',
    ],
    'guards' => [
        'web' => [
            'driver' => 'session',
            'provider' => 'users',
        ],
    ],
    'providers' => [
        'users' => [
            'driver' => 'eloquent',
            'model' => App\User::class,
        ],
    ],
    'passwords' => [
        'users' => [
            'provider' => 'users',
            'email' => 'auth.emails.password',
            'table' => 'password_resets',
            'expire' => 60,
        ],
    ],
];
編集後(userじゃなくてusersにしたほうがよかったかも・・・)
<?php

return [
    'defaults' => [
        'guard' => 'user',
        'passwords' => 'user',
    ],
    'guards' => [
        'user' => [
            'driver' => 'session',
            'provider' => 'user',
        ],
        'admin' => [
            'driver' => 'session',
            'provider' => 'admin',
        ],
    ],
    'providers' => [
        'user' => [
            'driver' => 'eloquent',
            'model' => App\User::class,
        ],
        'admin' => [
            'driver' => 'eloquent',
            'model' => App\Admin::class,
        ],
    ],
    'passwords' => [
        'user' => [
            'provider' => 'user',
            'email' => 'user.auth.emails.password',
            'table' => 'multiauth_password_resets',
            'expire' => 60,
        ],
        'admin' => [
            'provider' => 'admin',
            'email' => 'user.auth.emails.password',
            'table' => 'multiauth_password_resets',
            'expire' => 60,
        ],
    ],
];
ためします。ログイン画面対応がめんどくさいので簡易的にしました。
app/Http/routes.php
<?php

Route::get('/admin/login', function() {
    $auth = Auth::guard('admin');
    $credentials = [
        'email' => 'admin1@example.com',
        'password' => 'password',
    ];

    return $auth->attempt($credentials) ? 'Admin Success' : 'Admin Failure';
});

Route::get('/user/login', function() {
    $auth = Auth::guard('user');
    $credentials = [
        'email' => 'user1@test.com',
        'password' => 'password',
    ];

    return $auth->attempt($credentials) ? 'User Success' : 'User Failure';
});
ブラウザでアクセスします
http://[ドメイン]/admin/login
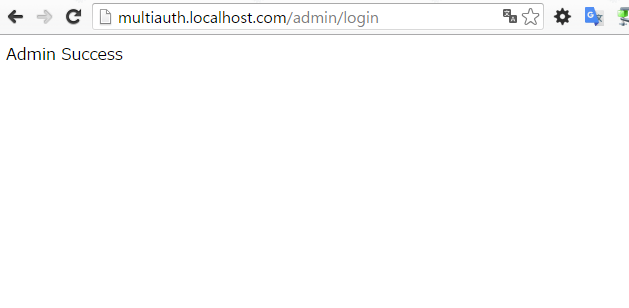
大成功。
ログイン画面を動作させるためには、\vendor\laravel\framework\src\Illuminate\Routing\Router.phpのauth()内を参考に、処理を記述しましょう。
おわり。


