「EC2のUbuntuにCloudWatchエージェントをインストール」に続き、CloudWatch Logsエージェントもインストールしました。
Pythonのバージョンが違ったのですが、無理やり解決しました。
- EC2
- Ubuntu 18.04.5 LTS (GNU/Linux 5.4.0-1029-aws x86_64)
- SSHでログインして操作
手順
Ubuntu用のCloudWatch エージェントインストールスクリプトをダウンロードします。
curl https://s3.amazonaws.com/aws-cloudwatch/downloads/latest/awslogs-agent-setup.py -O
インストールします
sudo python3 ./awslogs-agent-setup.py -r ap-northeast-1ダメでした
ERROR: This script only supports python version 2.6 - 3.5
スクリプト自体は動くものの、バージョンチェック部分の記述が古いため、バージョンチェックを修正。
python3 -V
 Python 3.6.9

sudo vi awslogs-agent-setup.py

# 以下書き換え
  1344      if python_version < (2,6) or python_version >= (3,6):
↓
  1344      if python_version < (2,6) or python_version >= (3,7):
再実行
sudo python3 ./awslogs-agent-setup.py -r ap-northeast-1
Launching interactive setup of CloudWatch Logs agent ...
downloading AgentDependencies.tar.gz with urllib
downloading AgentDependencies.tar.gz with urllib.request

(略)

Step 1 of 5: Installing pip ...libyaml-dev does not exist in system python-dev does not exist in system DONE

Step 2 of 5: Downloading the latest CloudWatch Logs agent bits ... DONE

# あとでEC2ロールで許可するため未設定としました。
Step 3 of 5: Configuring AWS CLI ...
AWS Access Key ID [None]:
AWS Secret Access Key [None]:
Default region name [ap-northeast-1]:
Default output format [None]:

Step 4 of 5: Configuring the CloudWatch Logs Agent ...
Path of log file to upload [/var/log/syslog]:
Destination Log Group name [/var/log/syslog]:

Choose Log Stream name:
  1. Use EC2 instance id.
  2. Use hostname.
  3. Custom.
Enter choice [1]:

Choose Log Event timestamp format:
  1. %b %d %H:%M:%S    (Dec 31 23:59:59)
  2. %d/%b/%Y:%H:%M:%S (10/Oct/2000:13:55:36)
  3. %Y-%m-%d %H:%M:%S (2008-09-08 11:52:54)
  4. Custom
Enter choice [1]:

Choose initial position of upload:
  1. From start of file.
  2. From end of file.
Enter choice [1]:
More log files to configure? [Y]: N

Step 5 of 5: Setting up agent as a daemon ...DONE
------------------------------------------------------
- Configuration file successfully saved at: /var/awslogs/etc/awslogs.conf
- You can begin accessing new log events after a few moments at https://console.aws.amazon.com/cloudwatch/home?region=ap-northeast-1#logs:
- You can use 'sudo service awslogs start|stop|status|restart' to control the daemon.
- To see diagnostic information for the CloudWatch Logs Agent, see /var/log/awslogs.log
- You can rerun interactive setup using 'sudo python ./awslogs-agent-setup.py --region ap-northeast-1 --only-generate-config'
------------------------------------------------------
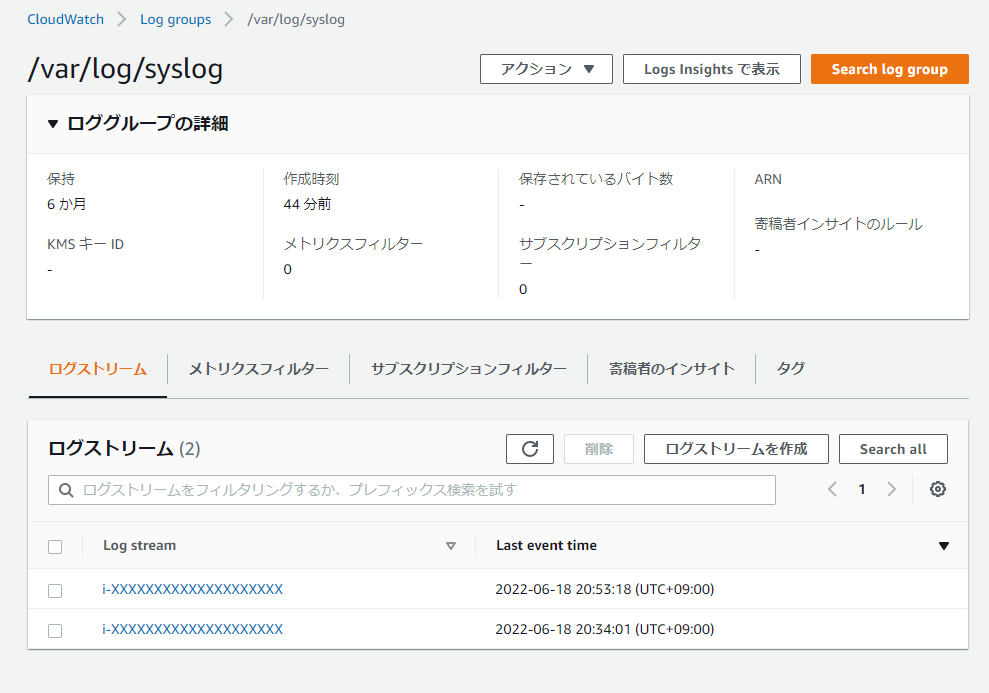
ログが転送されました。


